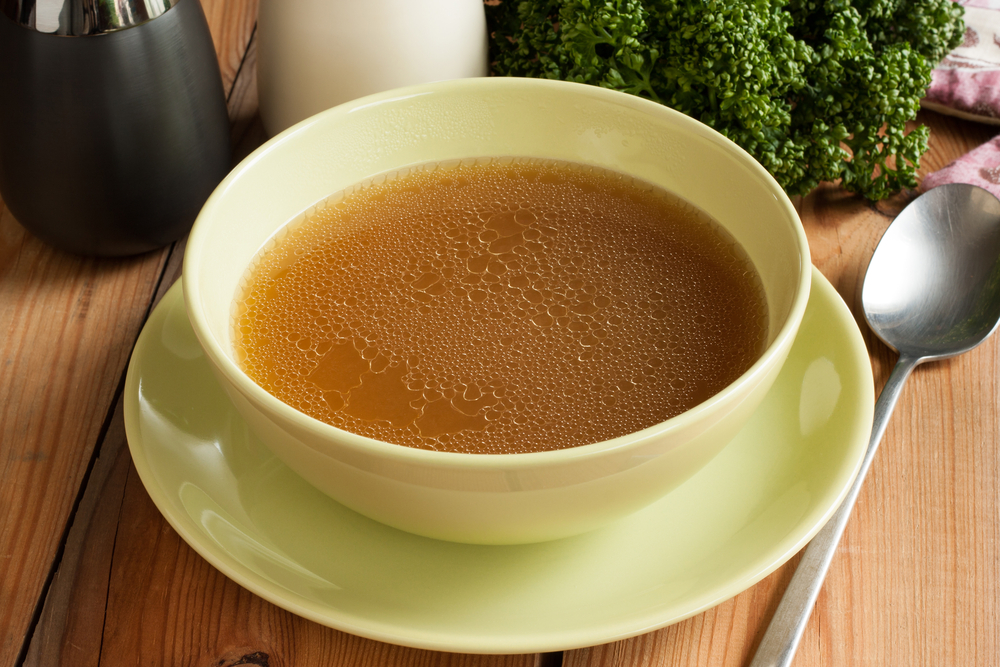
Bone broth is an ancient food secret used for thousands of years for healing protocols and many fabulous dishes. The recipe below is my favorite grass fed bone broth recipe as it incorporates the natural antiviral, antibacterial, and anti-fungal properties onion and garlic as well as the intestinal soothing effects of grass-fed beef bone broth.
Grass-Fed Beef bones are available at the following locations:
– Local Farmers Markets (Grass-Fed Beef/Chicken vendors)
– Earth Fare (ask the Butcher for grass-fed soup bones)
– WholeFoods (ask the Butcher for grass-fed soup bones)
– Organic Harvest Market
Ingredients
- 2 lb of grass fed beef bones (2 “good-sized” bones – 4-6 inches in length if long bones, or 1 large “knuckle”)
- 2 organic medium white onions, peeled and quartered
- 8-10 cloves of organic garlic, peeled and smashed
- 1 tbsp apple cider vinegar
- 4-5 quarts of filtered water
- Post cooking flavoring: himalayan salt, dried herbs (parsley, dill, oregano etc), dried spices (turmeric, ginger, cayenne etc)
Directions
Roast the bones before choosing your cooking method below. To roast, simply place the bones on a parchment paper-lined rimmed baking sheet for 30 min in the oven pre-set to 350 degrees.
Cooking with an INSTANT POT (Preferred Method)
1. Place all ingredients into the instant pot with the roasted beef bones
2. Fill with water until the Max Volume line
3. Secure the pressure lid and venting cap
4. Turn on the unit, select SOUP or BROTH, press MANUAL, increase to HIGH PRESSURE and adjust the time to 90 min. Secure the lid to activate the pot.
5. When complete, vent the instant pot, open and remove the bones from the broth.
6. Use an immersion blender to “cream” all the remaining ingredients. If you do not have an immersion blender transfer the broth to your blender and blend vigorously for 4-5 min.
7. Consume when warm or transfer broth into glass mason jars, allowing to cool to room temperature before placing the lid or refrigerating for later use.
8. Add any flavoring agents mentioned above, as long as they are only dried herbs/spices/salt or pepper.
NOTE: Broth can be refrigerated for 4-5 days and will thicken upon cooling. Simply reheat on the stove before consuming. Freeze only if you are storing longer than 5 days.
STOVE TOP STOCK POT
1. Place ingredients within a 5-gallon stock pot.
2. Pour water such that the bones are completely submerged (approximately 5 quarts of water)
3. Bring the contents to a boil, reducing to a simmer once a vigorous boil has been achieved
4. Cover the pot allowing a small amount of ventilation and simmer until the beef is fully cooked throughout (~90 min).
5. Add Apple Cider Vinegar and continue to simmer on low heat for the next 10-12 hours, adding water as needed to ensure the volume doesn’t reduce over the simmering time.
7. Remove from heat, let cool for 1-2 hours and remove the bones from the broth.
8. Use an immersion blender to “cream” all the remaining ingredients. If you do not have an immersion blender transfer the broth to your blender and blend vigorously for 4-5 min.
9. Consume when warm or transfer broth into glass mason jars, allowing to cool to room temperature before placing the lid or refrigerating for later use.
10. Add any flavoring agents mentioned above, as long as they are only dried herbs/spices/salt or pepper.
VITACLAY CROCK POT
Note: Traditional Glazed ceramic crock pots are not recommended, as many glazed ceramic pots contain lead, a toxic heavy metal, that can be leached into the broth.
1. Place ingredients within the VitaClay pot.
2. Fill the pot almost to the top (leave room to allow for expansion and boiling to occur)
3. Set the VitaClay to SOUP for as long as you can (4-5 hours on average)
4. When complete, open the VitaClay and remove the bones from the broth.
5. Use an immersion blender to “cream” all the remaining ingredients. If you do not have an immersion blender transfer the broth to your blender and blend vigorously for 4-5 min.
6. Return the blended broth back to the VitaClay, allowing it to naturally go into its “Warm Mode” which can keep the broth warm for up to 10-12 hours.
7. Consume when warm or transfer broth into glass mason jars, allowing to cool to room temperature before placing the lid or refrigerating for later use.
8. Add any flavoring agents mentioned above, as long as they are only dried herbs/spices/salt or pepper.